


Introduction: The Ergonomics of Recumbent Cycling
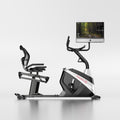
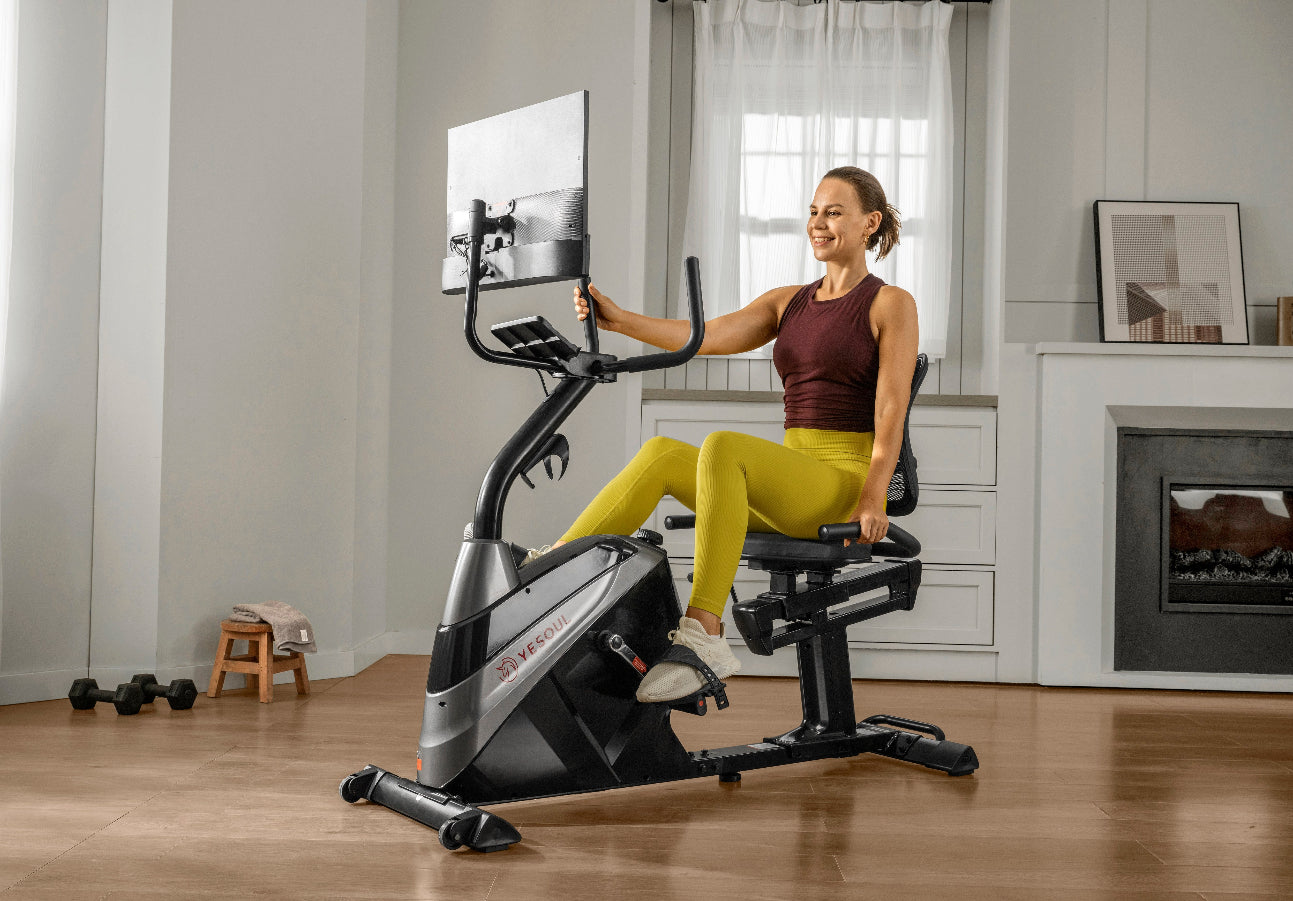
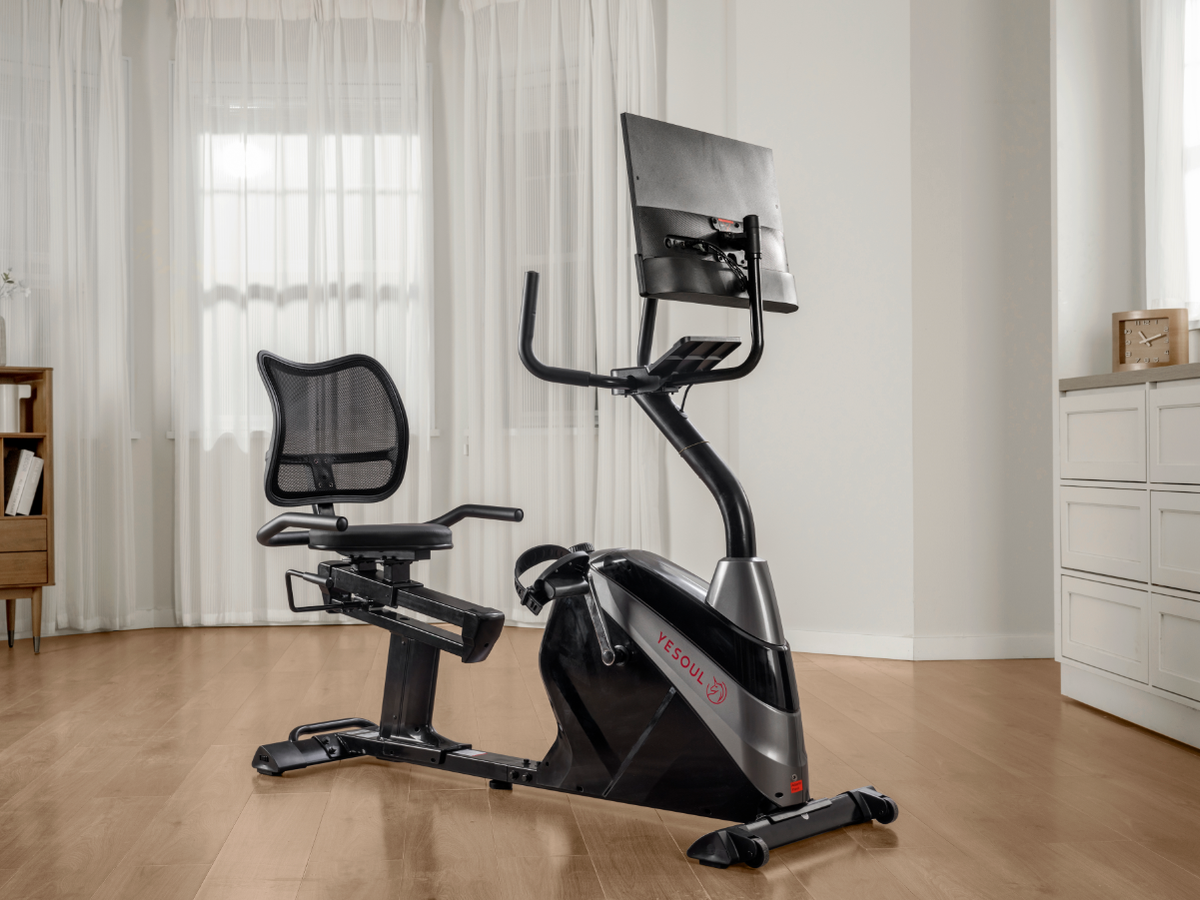
Recumbent bikes offer a unique blend of cardiovascular conditioning and muscular engagement while minimizing joint stress—a critical advantage for individuals with mobility limitations, chronic pain, or those seeking a sustainable low-impact workout. Unlike upright bikes, recumbent models position the rider in a reclined posture with extended legs, redistributing pressure away from the wrists, neck, and lower back. This design promotes spinal alignment and reduces shear forces on the lumbar spine, making it an ideal choice for rehabilitation or long-duration endurance training.
Contemporary research underscores the efficacy of recumbent cycling. A 2019 study in the Journal of Biomechanics found that recumbent cycling reduces peak joint loads in the knees and hips by up to 30% compared to upright cycling, while still eliciting comparable cardiovascular benefits. For athletes managing conditions like osteoarthritis or recovering from lower-body injuries, this ergonomic advantage is transformative.
This guide explores the biomechanics of proper recumbent bike use, emphasizing injury prevention, performance optimization, and technique refinement.
Why Proper Form Matters
While recumbent bikes are inherently low-risk, improper posture or setup can compromise workout efficacy and lead to overuse injuries. Common issues include:
- Hip flexor strain from excessive seat proximity.
- Lower back discomfort due to slouched posture or inadequate lumbar support.
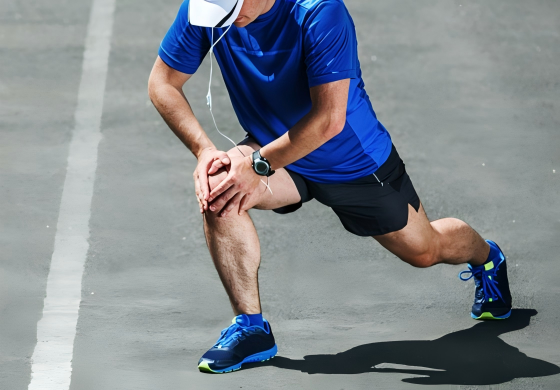
- Knee pain from improper leg extension or misaligned pedaling mechanics.
A 2020 systematic review in Sports Medicine highlighted that poor cycling ergonomics contributes to 45% of non-traumatic injuries among recreational cyclists. For recumbent users, mitigating these risks hinges on precise seat adjustment, core activation, and adherence to a smooth pedaling cadence.
Pre-Workout Setup: Adjust for Success
1. Seat Adjustment
- Leg Extension: Adjust the seat so your knees maintain a 5–10° bend at the farthest pedal position. Overextension (locked knees) strains the patellar tendon, while excessive flexion reduces power output.
- Horizontal Positioning: Ensure the seat is far enough from the pedals to prevent hip hyperflexion. Your thighs should not compress against the abdomen.

Adjust seat
2. Backrest and Handlebar Positioning
- Lumbar Support: Recline the backrest to a 45–60° angle. Use additional lumbar cushions if the bike lacks adequate curvature.
- Handlebar Grip: Position handles within easy reach to avoid rounded shoulders. Maintain relaxed elbows with a neutral wrist alignment.

Right position to hold handlebar
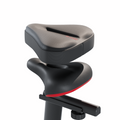
3. Pedal Straps and Foot Placement
- Secure feet firmly against the pedals using straps. Center the ball of the foot over the pedal axle to optimize force transfer.

Foot Placement
The 4-Phase Pedaling Cycle: Break It Down
1. The Setup (Starting Position)
- Posture: Sit fully against the backrest with shoulders relaxed. Engage your core to stabilize the pelvis and avoid slouching.
- Foot Alignment: Ensure knees track straight over toes—avoid inward or outward knee drift.
2. The Power Phase (Downstroke)
- Leg Engagement: Push through the heel to activate the glutes and quadriceps. Avoid "mashing" the pedals; focus on smooth, controlled force.
- Cadence: Maintain 70–90 revolutions per minute (RPM) for endurance training. Higher cadences (90+ RPM) may compromise joint stability.
3. The Transition (Backstroke)
- Hamstring Activation: Pull gently upward on the pedal to engage the posterior chain. This promotes balanced muscle development and reduces quadriceps dominance.
4. The Recovery (Full Rotation)
- Fluid Motion: Prioritize circular pedaling rather than abrupt stops/starts. Imagine scraping mud off your shoe during the upstroke.

The Rotation Direction
Common Mistakes to Avoid
- Slouching: A collapsed thoracic spine shifts load to the lumbar region. Counteract this by drawing the shoulder blades together and bracing the core.
- Excessive Resistance: High resistance with low cadence ("grinding") strains the knees. Opt for moderate resistance where RPM stays above 60.
- Hip Shift: Rocking side-to-side indicates poor core engagement or excessive resistance. Reduce intensity and focus on stability.
For a detailed analysis of cycling-related injuries, refer to The Cyclist's Training Bible by Joe Friel.

Right position

Wrong position
Right position vs Wrong position
Sample Workout for Technique Practice
1. Warm-Up (5–10 minutes):
- Pedal at 60–70 RPM with minimal resistance. Focus on posture and fluid transitions.
2. Intervals (20 minutes):
- Moderate Intensity: 2 minutes at 75 RPM (resistance level 5–6).
- High Cadence: 1 minute at 95 RPM (resistance level 3).
- Repeat 5x.
3. Cool-Down (5–10 minutes):
- Gradually reduce resistance and cadence. Stretch hamstrings, hip flexors, and calves.
Additional Tips for Maximizing Recumbent Bike Workouts
- 1. Resistance Strategy: Use incremental resistance increases to challenge endurance without sacrificing form.
- 2. Heart Rate Monitoring: Target 60–80% of your maximum heart rate for fat-burning zones.
- 3. Hydration and Ventilation: Recumbent cycling can induce significant sweating due to reduced airflow. Keep water accessible.
- 4. Cross-Training: Pair recumbent sessions with upper-body strength training to counterbalance seated posture.
- 5. Machine Maintenance: Regularly lubricate the chain and check pedal alignment to ensure smooth operation.
Conclusion
Mastering recumbent cycling is less about intensity and more about precision. By prioritizing ergonomic setup, circular pedaling mechanics, and postural awareness, users can unlock the bike's full potential as a joint-friendly, total-body conditioning tool. Whether rehabilitating an injury or pursuing lifelong fitness, the recumbent bike offers a sustainable path to cardiovascular health and muscular endurance.
Ready to Pedal Smarter?
Invest time in refining your technique, and the recumbent bike will reward you with longevity in fitness. As your form becomes second nature, you'll cycle stronger, recover faster, and achieve goals you once thought unreachable.
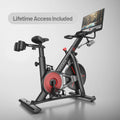
Explore ergonomic recumbent bikes designed for optimal comfort and performance:
https://yesoulfitness.com/products/yesoul-j1m-plus
References
- Bini, R. R., & Hume, P. A. (2019). Joint loads during recumbent and upright cycling. Journal of Biomechanics, 82, 1–8. doi:10.1016/j.jbiomech.2018.10.006
- Silberman, M. R., et al. (2020). Non-traumatic injury risk factors in recreational cyclists: A systematic review. Sports Medicine, 50(12), 2137–2152. doi:10.1007/s40279-020-01352-2
- Friel, J. (2018). The Cyclist's Training Bible. VeloPress.
- American Council on Exercise. (2022). Recumbent bike workout guide. Retrieved from https://www.acefitness.org
- Mayo Clinic. (2023). Recumbent exercise bikes: How to choose. Retrieved from https://www.mayoclinic.org


Leave a comment
All comments are moderated before being published.
This site is protected by hCaptcha and the hCaptcha Privacy Policy and Terms of Service apply.